
No matter what type of content you keep on your computer, you’ll always find reasons to hide files and folders.
You can have important documents and videos that you want to keep secret, or you just want to prevent users from accidentally deleting specific files if you share your computer with other people.
The main reason to hide a folder In Windows 10 is privacy. If you have sensitive data that you don’t want anyone to see, then hide your files Your folders are a great simple option to improve security.
Here’s how to hide any file or folder on Windows 10.
Hide individual files/folders on Windows 10 using the command line
A simple way to hide a file or folder is to change its attributes using the attrib command located on the command line.
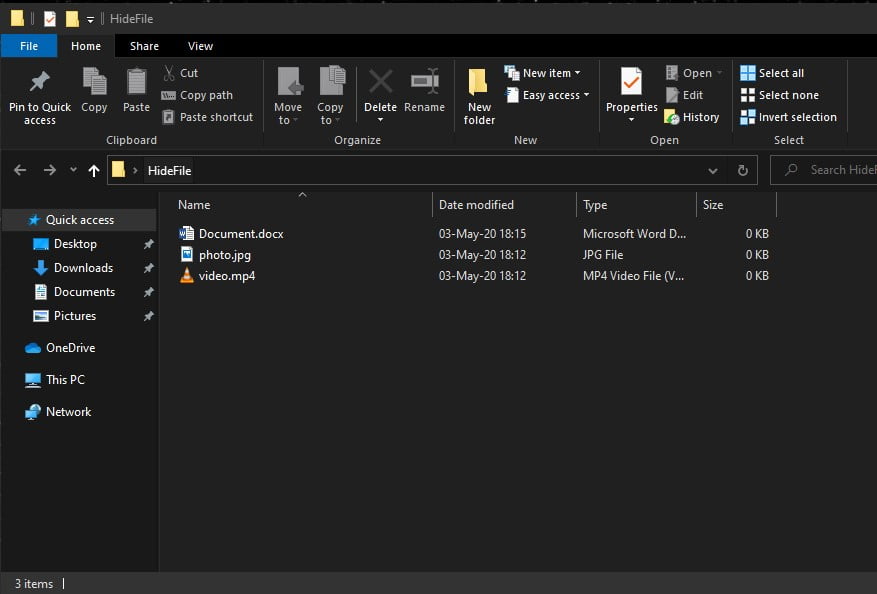
Let’s say you want to hide a video.mp4 file that’s in a “HideFile” folder as shown below.
Open a command prompt by pressing a Windows+R key Open the race dialog box. Then type cmd.exe and click Ok.
At an order prompt, type in the next command. Replace the path and file name with the file information you want to hide.
attrib C:\Users\DELL\Documents\HideFile\video.mp4 +s +hYou can also hide the folder Use the attrib command in the following way. Again, replace the path and file name with the details of your file.
attrib C:\Users\DELL\Documents\HideFile\New folder +s +hTo view a file or folder, use the same attrib command, “Replacement of “+” with “–” Before the two features “s” & “h”.
attrib C:\Users\DELL\Documents\HideFile\video.mp4 -s -hTo learn more about the attrib command, type attrib /? in the command prompt and press Enter.
Hide Windows 10 folders using file explorer
It’s like using File Explorer To hide the folder, use the attrib command What was shown in the previous section, but it’s less safe.
Anyone who knows how to hide files can view them in File Explorer Access your files.
But if you’re trying to hide data from other family members who don’t know the technology, it might work well.
Hiding files and folders is not the only trick that can be done via file explorer.
You can set the Hidden theme for files or folders specified in the File Explorer. But first, you need to make sure that hidden files and folders don’t appear in the File Explorer. To do this, go to the View >> Options tab and select >> Change Folder and Search options.
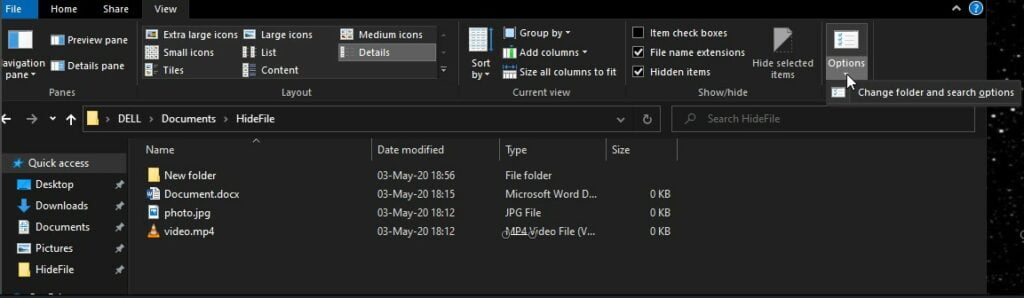
In the View Select “Don’t show hidden files, folders, or Drives” Under Advanced Settings, click Ok.
To hide one or more files or folders, select files or folders, click on them with the right button and select “Properties”.
In the General tab of “Properties”, check the box “Hidden” In the Properties” section. To prevent files or folders from appearing in Windows Search Results, Click “Advanced” Options.
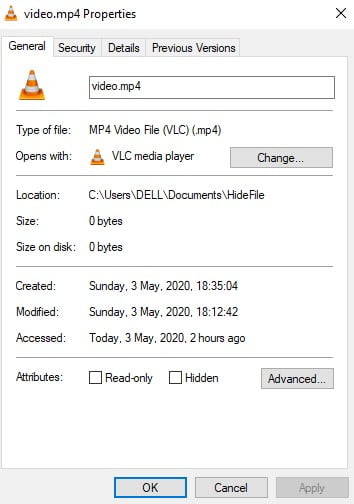
Then uncheck the boxes in the File Attributes section of the Advanced Options pop-up window, then click Ok.

To view files or folders, go back to “Properties” For the files or folders, and uncheck the Box In the “General” section.
Completely hide drives using the disk management utility
Also you can hide the entire drive using a Disk Management tool. This tool shows you all the internal and external drives connected to your computer.
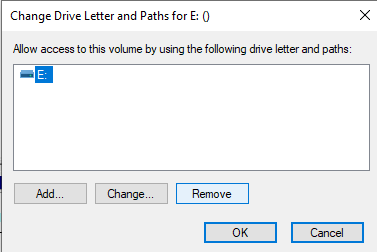
Press the “Windows+R” button to open the “race.” Then type “diskmgmt.msc” In the box and click Ok. Click the right button on the drive you want to hide (top or bottom) and select “Change drive letter and paths”.

In the dialog box change the drive letter and paths Select Drive Letter And click Remove And then tap Ok.
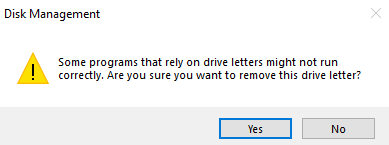
A warning dialog box will appear telling you that some apps depend on drive letters and may not work if you delete the drive letter. If you are sure you want to hide the drive, click Yes to delete the drive letter.
The letter will be removed from the drive in the disk management utility.
Once the File Explorer is closed and reopened, the drive will not be visible and will not be included in Windows Search Results.
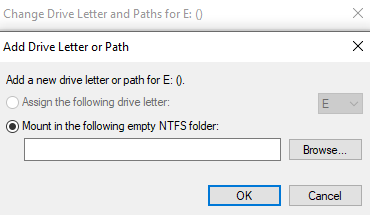
To view the drive again, return to the Disk Management utility and open the “Change the drive letter and the paths” Hidden Drive. Then click Add.
Be sure to specify the letter mapping for the next drive (must be done by default). Select the drive letter you want to assign it to in the drop-down list, then click Ok.
Should be closed File Explorer Reopen it to review the drive.
That All!